
Hello everyone! Today I would like to share a recipe for a chocolate flavored loaf of milk bread.
Milk bread is a type of bread that is most often made with something called a tangzhong, which is a cooked mixture of milk/water and flour (and in this case, cocoa powder). This helps keep the bread moist and tender for longer, as well as giving it a signature softness.
This bread is made with 2 kinds of chocolate: dutched cocoa powder and chocolate chips. The chips can be any kind you’d like, but I recommend dark chocolate.
Also, be careful with the temperature you proof the dough at. If you use something like a proofing mat or your oven has a proofing mode, it will most likely melt the chocolate chips (as you can see in the video). It isn’t a big deal if they do melt, it’ll just be a bit messier.
This recipe is inspired by King Arthur Baking’s chocolate milk bread recipe.
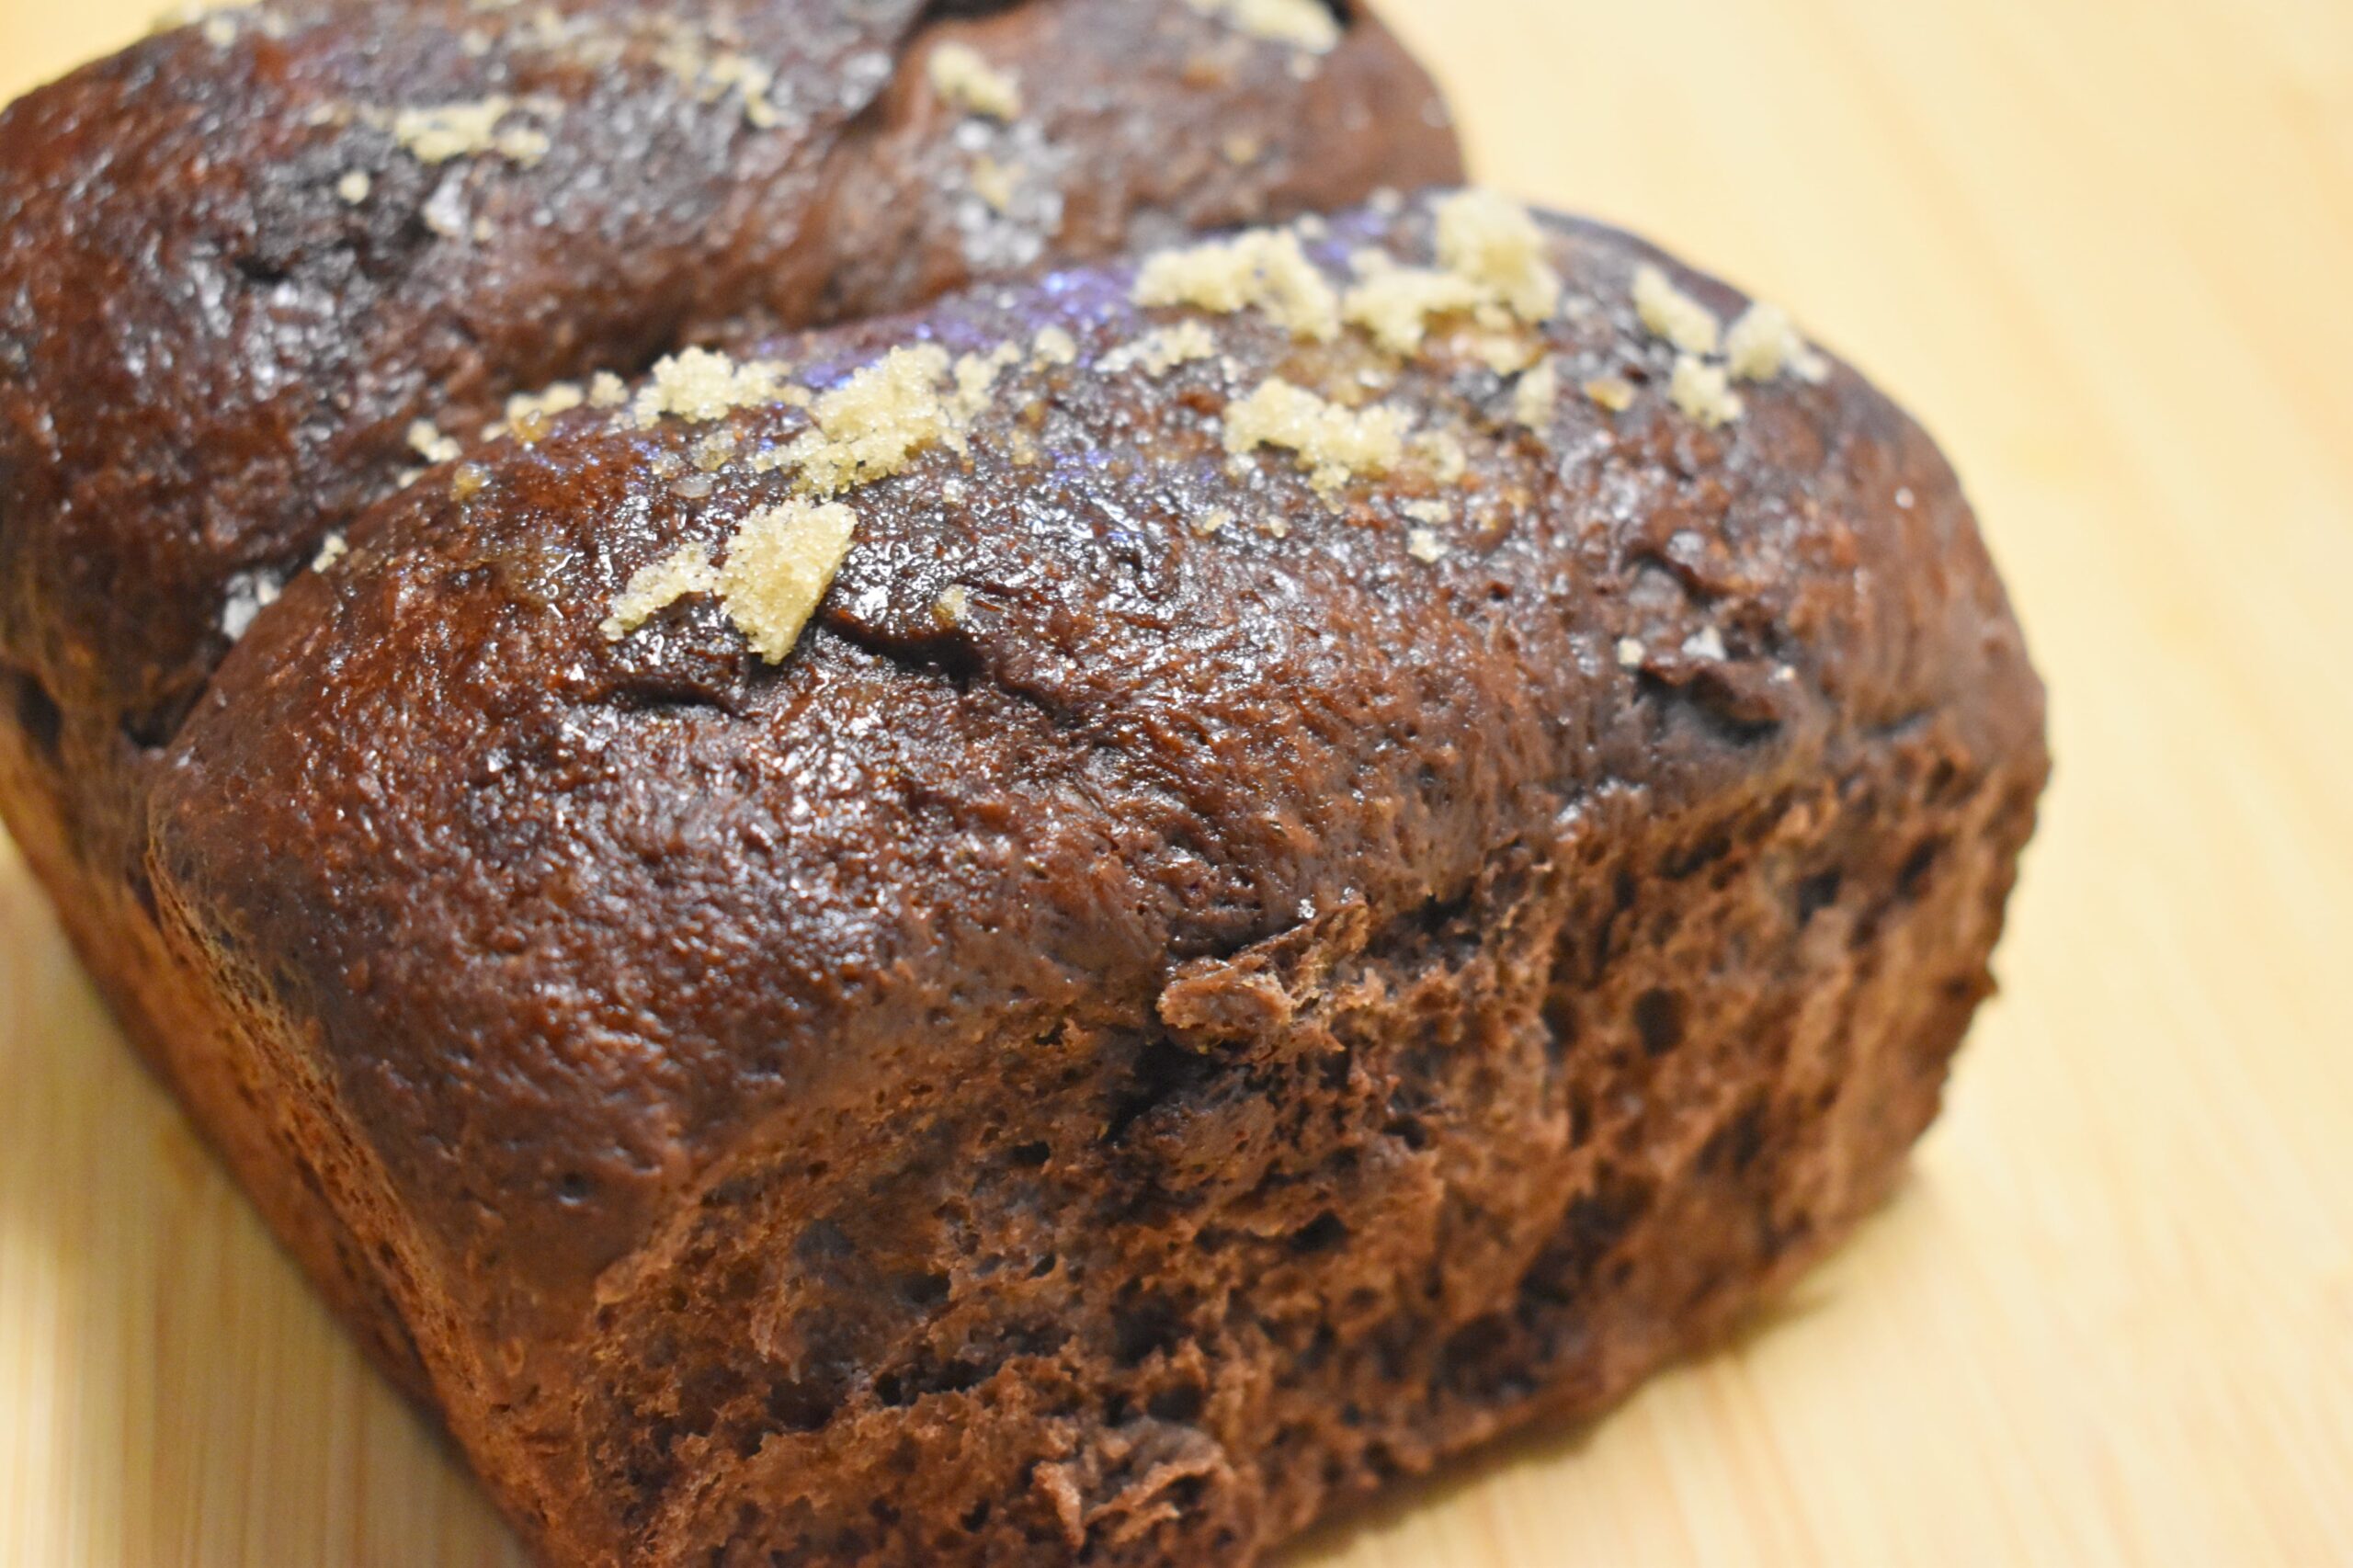
Chocolate Milk Bread
Difficulty: Medium12-16
servingsRich, sweet and soft chocolate milk bread with dark chocolate chips!
Ingredients
1/4 cup (22g) dutched cocoa powder
1 1/2 tbsp (11g) bread flour
5 tbsp (70g) water
5 tbsp (70g) milk of choice
Dough:
2 cups (240g) bread flour, plus more for adjusting
5 tbsp (70g) milk of choice, warmed
heaping 3 tbsp (41g) granulated sugar
2 1/2 tsp instant yeast
scant 1 tsp salt
3 tbsp (42g) salted butter, melted
1 beaten egg, divided
1/2 cup (85g) chocolate chips of choice (I recommend dark)
brown sugar, for topping (optional)
Directions
- In a pan over medium heat combine the cocoa powder, flour, milk and water for the tangzhong. Whisk constantly until thickened to the texture of pudding, about 3-5 minutes. Transfer to the bowl of a stand mixer (or regular large bowl if making by hand). Add in the flour, milk, sugar, yeast, salt, butter and all but 1 tsp of the beaten egg. Cover the remaining egg and chill it until later.
- Mix using a dough hook on medium speed (or your hands) for about 6-7 minutes or until smooth and tacky but dry enough to touch without it sticking to you. If it is too stick after 7 minutes, add more flour 1 tbsp at a time until it is to the desired consistency. Mix in the chocolate chips, then remove the dough from the bowl and scrape the sides as clean as possible. Lightly grease the bowl, return the dough, cover and let rest in a warm area for around 1 hour until doubled in volume.
- Once proofed, turn the dough out onto a lightly floured surface or a silicone mat and cut into 4 equal pieces. Press each piece into a 6×4″ rectangle (does not need to be precise) and fold each side into the center. Press out again into a 4×6″ rectangle and roll starting at the short end. Place on one side of a lightly grease 9×5″ loaf pan and repeat with the remaining dough. Cover it loosely and let proof for 45mins-1hr until almost doubled again. In the meantime, preheat your oven to 350F.
- Once ready, lightly brush the loaf with the leftover egg from before and optionally sprinkle with brown sugar. Bake for 30-34 minutes or until hollow sounding when tapped and at least 190F internally. Let cool for 10 minutes in the pan, then use a knife or spatula to release the sides and set the loaf onto a wire rack to cool completely.
- Slice and enjoy! Will last for 2-3 days in a sealed container at room temp, 1-2 weeks in the fridge and 2 months in the freezer.
Recipe Video
Notes
- e careful with the temperature you proof the dough at. If you use something like a proofing mat or your oven has a proofing mode, it will most likely melt the chocolate chips (as you can see in the video). It isn’t a big deal if they do melt, it’ll just be a bit messier.
Thank you for viewing my recipe! If you have any comments or questions, please feel free to leave them below!
Leave a Reply