
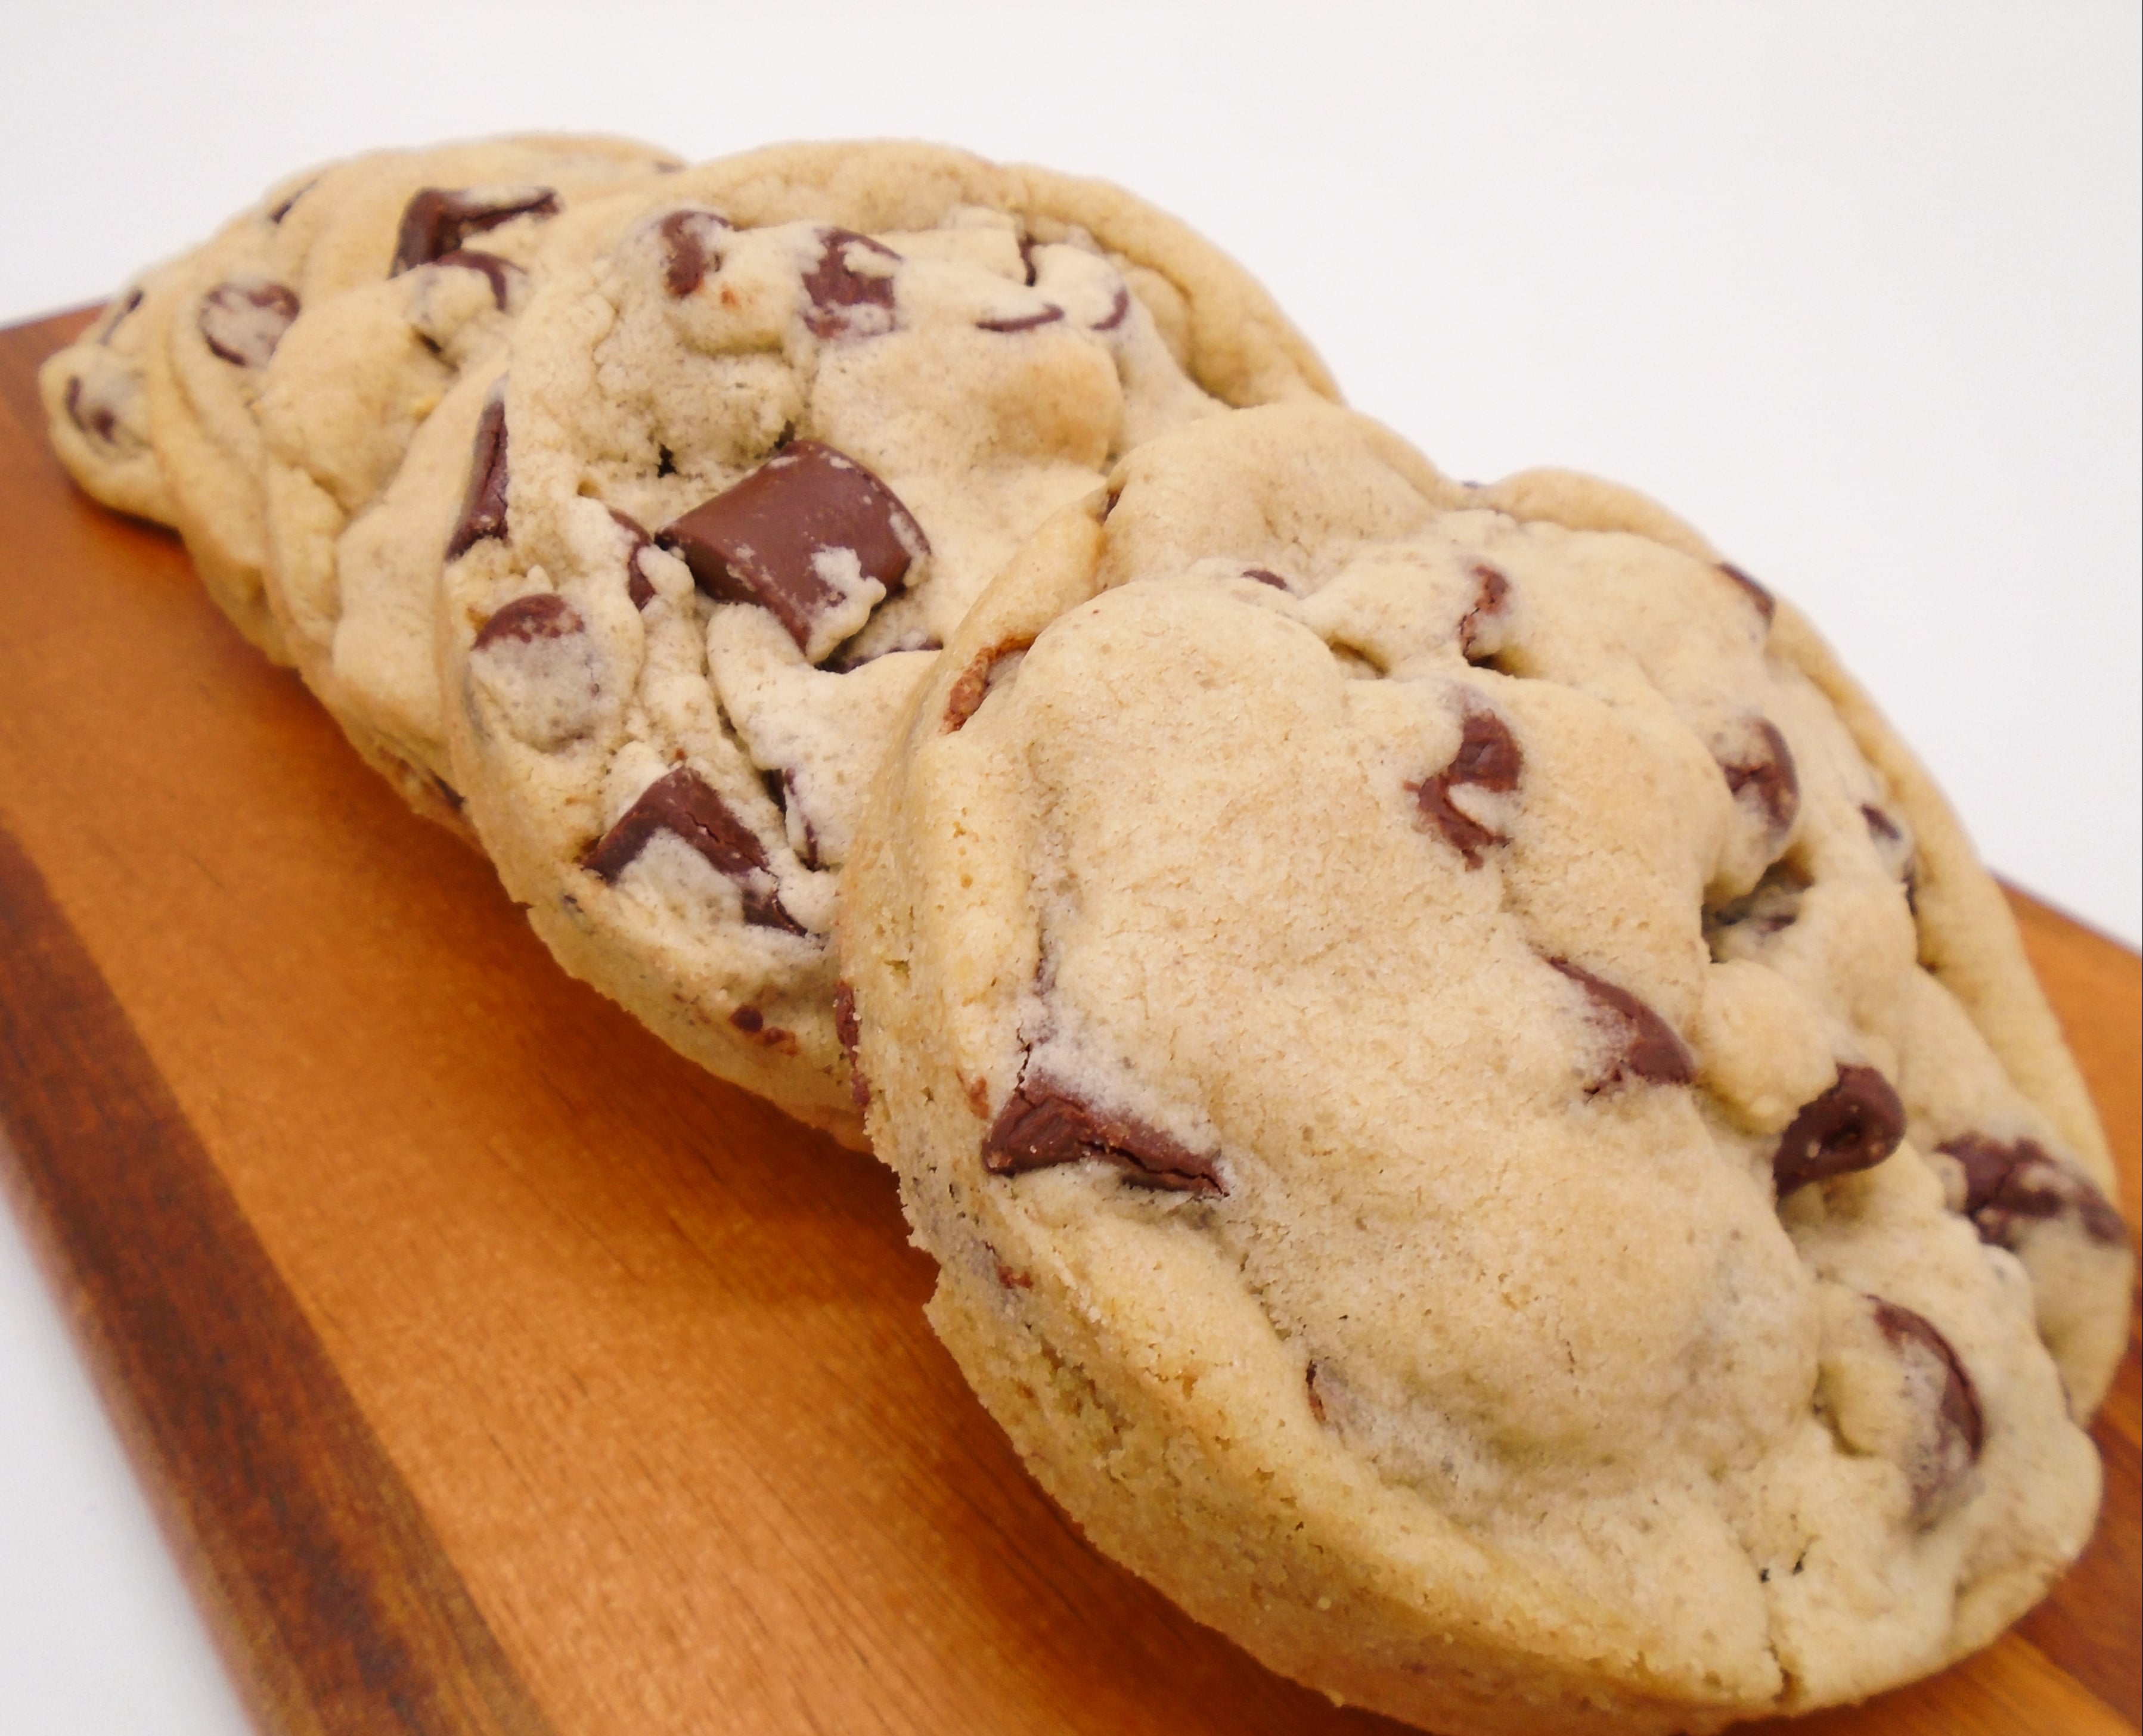
Hello everyone! This is a recipe for soft, chewy, rich and large chocolate chip cookies that are perfect for almost any occasion.
Also, welcome to my blog! This is the first post of many to come, and I figured what better than classic chocolate chip cookies?
When I was making this recipe, I tried most of the popular cookie recipe changes out there. I tried dark brown sugar, all brown sugar, lots of cornstarch, yolks only, etc.
And this recipe is what I settled on being my favorite! Not too rich, not too much spread, just right if you like a soft & chewy cookie.
These cookies are similar to the usual chocolate chip recipe, with a few key changes to make then bakery-style.
I typically make a half-batch of these cookies, which yields about 14. I make 12 at a time, and put the remaining dough in the freezer until I am ready to bake those.
For a half-batch, you will need to use half of an egg. The best method I have found for this is to go by weight: place a bowl on a scale and tare it, then beat the egg in a separate bowl and pour it in until you have 25g. You can also tare the bowl you crack the egg into, add the egg and beat it, then pour off a little at a time until you have about 25g remaining.
These cookies have a lot of similarities to the usual chocolate chip recipe, with a few key changes to make then bakery-style.
More brown than white sugar
This creates a richer flavor, and adds a little bit to the chewy texture. For an even deeper flavor, use dark brown sugar (or just add 1-2 tbsp molasses to the light brown sugar)
You can also use all white sugar, and add anywhere from 2-4 tbsp of molasses to it, depending on how “dark” you would like the flavor. As brown sugar is just white sugar with molasses in it, and dark brown sugar just has more molasses, this works the same as using brown sugar in the first place.
Egg + Egg Yolks
Extra yolk makes the texture softer and chewier. Not necessary, but definitely an improvement. If you don’t want to use more yolks, just replace the 2 yolks with 1 whole egg.
I haven’t tried this recipe with any egg substitutes, but if you are going for vegan, you could certainly try flax eggs or vegan egg substitute. Just make sure to look for something that says it works for baking applications.
Butter Flavoring
As the name implies, this one is for flavor improvement. It does not make the final product taste like butter, it will just increase the richness and gives it more of that “bakery” taste.
You can also replace this with 1/2 the amount as peppermint extract for mint cookies! Optionally you can add green food coloring with the eggs and extracts too.
If you’d like them to be stronger on the mint flavor, you can increase it to 3/4 or the full amount, but they will be stronger than a normal lightly minty cookie.
Cornstarch
This is a very useful addition, as it helps them stay thick when baked and can help keep the centers soft. It also makes them a bit chewier, but is not required.
Extra Chocolate Chips/Chunks
Probably the most obvious addition, but more chocolate is one of the biggest (if not the biggest) differences between homemade and bakery cookies. I use 24oz of semi-sweet chocolate chips, but I will switch between using all chips and going half chips and half chunks.
If you want some more variety, you can use a mix of milk, semi-sweet, bitter-sweet and/or dark chocolate pieces. If you use a chopped chocolate bar of any kind, it will be very liquid when they are warm and increase the spread of the cookies.
Ring Molds
I use 3″ ring-shaped molds that are oven safe to bake my cookies in. It makes them perfectly round, but also keeps them a more even height. It also keeps the edges from getting crispy, so they are evenly soft all the way through.
If you would prefer a slightly wider and flatter cookie, with crisp edges, skip the ring molds.
Bakery-Style Chocolate Chip Cookies
Difficulty: Easy28
servingsThese cookies are soft, chewy, full of chocolate and just like what you’d get from a bakery!
Ingredients
3 cups (390g) bread flour
1 tbsp cornstarch
1 tsp baking soda
3/4 tsp salt
2 sticks (227g/1 cup) salted butter, softened
1/2 cup (100g) granulated sugar
1 1/4 cups (247g) light/dark brown sugar, packed
2 tsp vanilla extract
1 tsp butter flavoring*
1 egg, room temperature
2 egg yolks, room temperature
24oz (680g/2 bags) semi-sweet chocolate chips/chunks
Directions
- In a large bowl or the bowl of a stand mixer, beat together butter and both sugars until light and creamy, about 3 minutes.
- Add in the egg, egg yolks, vanilla and butter flavoring (if using) and mix until smooth. Sift in the flour, cornstarch, baking soda and salt. Stir until mostly combine. Add the chocolate chips and mix for another 15 seconds or so.
- Divide the dough onto a parchment paper or silicone mat lined baking sheet using a 3-tbsp cookie scoop. Optionally, you can use 3″ oven-safe ring molds (linked above!) to make rounder cookies. Cover and chill for at least 2 hours, up to 72 hours.
- Once ready, Preheat oven to 350°F and bake for 19-23 minutes, until just starting to brown on the edges and the centers are still a bit soft. 21 minutes is perfect in my oven. Remove and let cool for at least 15 minutes.
- Once fully cooled, store in airtight containers or bags for up to 3 days. You can keep them in the fridge for 5 or so days, and freeze for 2 months.
Notes
- *The butter flavoring is not required, but it will make it taste more “bakery-like”. It will not make them taste like butter, but feel free to omit if you don’t want it or don’t have it.
- **You can also make these into mint cookies! Just swap the butter flavoring for 1/2 tsp peppermint extract. Optionally, you can add a few drops of green food coloring at the same stage of mixing to make them minty green.
- For a cookie closer to what you’d normally make at home, omit the butter flavoring and reduce the chocolate chips to 14-18oz, depending on how chocolatey you want them.
- For mini cookies, use a 1-tbsp cookie scoop and divide each ball into 2. Bake for 9-12 minutes, cool and enjoy!
Thank you so much for viewing my recipe! If you would like to leave a comment or have any suggestions, please feel free to do so below!
Leave a Reply to Louise Cancel reply